Walk into any fiber test gear catalog and you will see "LSPM kit" listed alongside power meters, light sources, and OTDRs. The acronym is fiber-industry shorthand for Light Source and Power Meter — a matched pair of instruments used together to certify that a fiber link meets its loss budget.
The pairing is not arbitrary. A power meter without a stable, known-output source can only measure raw dBm. To convert that into a useful insertion loss number — the dB difference between launched and received power — you need a calibrated source on one end and a calibrated meter on the other. That's the LSPM set.
This guide walks through what an LSPM kit contains, how the two instruments work together, the difference between single- and dual-wavelength sets, the TIA-526 reference methods that govern how you use them, and how to choose the right kit for your install workflow.
What's in an LSPM Set
A complete LSPM set has more than just a meter and a source. A field-ready kit includes:
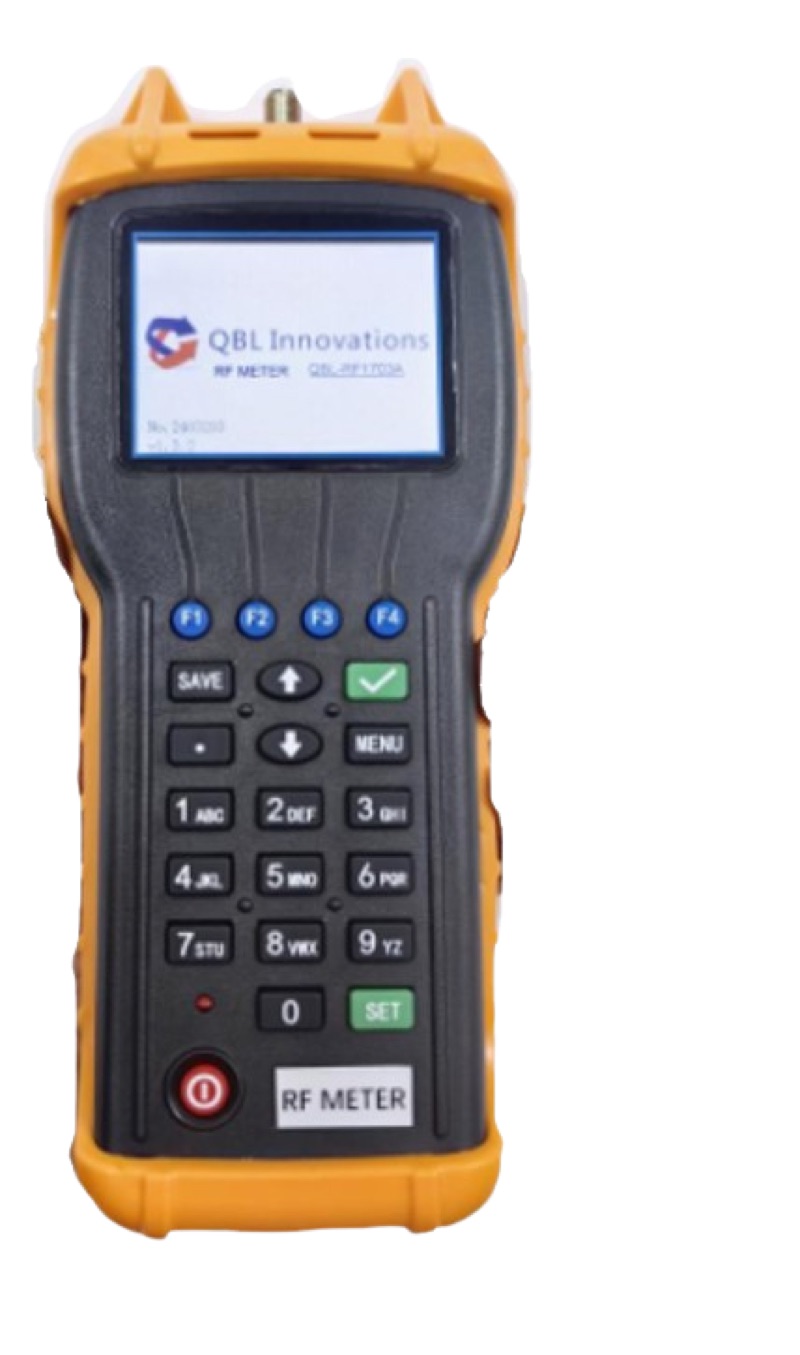
- Optical power meter — measures incident power in dBm or watts at one or more calibrated wavelengths.
- Stabilized light source — a laser (single-mode) or LED (multimode) that emits a fixed, known power at one or more wavelengths.
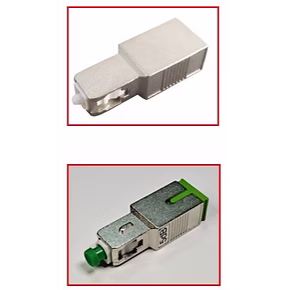
- Test reference cords (TRCs) — high-quality jumpers used to set the reference level. Typically 1-3 meter SM duplex or simplex.
- Mating adapters — bulkhead couplers (LC-LC, SC-SC) that connect the TRCs to the link under test.
- Connector cleaning supplies — one-click cleaners, lint-free wipes, and IPA. Non-negotiable.
- Inspection scope — visual check of every connector before you mate it. Damaged ferrules invalidate every measurement after.
- Carry case — protect the optics. A dropped meter can need recalibration.
Some kits ship as one-box bundles; others let you mix and match. Either way, every item on the list above needs to be present to do real Tier 1 testing.
How an LSPM Measures Insertion Loss
The math behind an LSPM measurement is one of the simplest in fiber optics. You launch a known power into one end of the link and measure what comes out the other end. The difference, in dB, is the insertion loss.
The procedure has three phases:
Phase 1: Reference
Connect the source to the meter using one TRC and a mating adapter. Power on both, select the wavelength, and let everything stabilize for 60 seconds. Press "set ref" or "0 dB" on the meter. The current reading becomes the zero point.
Phase 2: Insertion
Disconnect at the bulkhead, add the link under test plus a second TRC at the far end. The source still feeds the same TRC + adapter, then traverses the entire installed link, then comes out through the second TRC + adapter to the meter. Read the new dBm value.
Phase 3: Calculation
The displayed dB value is the insertion loss of the link plus connectors plus splices. Compare against your link budget. If it passes, document and move on. If it fails, troubleshoot with a visual fault locator and an OTDR.
For more on calculating link budgets see our guide to testing fiber link budget.
TIA-526 Reference Methods (1, 2, and 3 Cord)
The TIA-526 standard defines three methods for setting the reference. The choice affects how many connector pairs are included in your loss measurement.
1-Cord (Method A.1) — most common
Reference set with one TRC. The first TRC's far-end connector is part of the reference and not counted in the loss. The second TRC adds one connector pair to the loss measurement. Result: link loss = installed cable + 1 connector pair + any splices. This is the default for most TIA-568 testing.
2-Cord (Method A.2) — TRC connectors not in measurement
Reference set with two TRCs joined at a bulkhead adapter. Both TRC connectors are part of the reference. Insertion adds the installed link only — no extra connector pairs. Used when the connectors at each end of the link will be measured separately.
3-Cord (Method A.3) — most conservative
Reference set with three TRCs and two bulkhead adapters. All three TRCs are part of the reference. Insertion measures the installed cable plus 2 connector pairs. This is the strictest method and used when both end connectors must be characterized.
For most ITS contractor work, 1-cord is the default. Always document which method you used in the test report so the customer knows what's being measured.
Single-Wavelength vs Dual-Wavelength LSPM Sets
This is the biggest spec decision when buying an LSPM kit. Here's the comparison.
| Feature | Single-Wavelength | Dual-Wavelength |
|---|---|---|
| SM wavelengths | 1310 OR 1550 nm | 1310 AND 1550 nm |
| MM wavelengths | 850 OR 1300 nm | 850 AND 1300 nm |
| Tests per fiber | 2 connections | 1 connection |
| Field time per fiber | ~3-4 min | ~1.5-2 min |
| TIA-568 compliant | Partial | Full |
| OTDR cross-check | Limited | Catches macrobends at 1550 |
| Typical price | $300-$600 | $500-$1,200 |
| Best use | Patch cord QC, single-link tests | Production install / certification |
For any contractor doing TIA-568 certification, dual-wavelength is the default. The 1550 nm reading is especially important because macrobends and cable stress show up at 1550 nm before they show up at 1310 nm — a fiber that passes at 1310 but fails at 1550 has a bend issue that will get worse over time. Read our deep dive at Dual vs Single-Wavelength Power Meter.
For single-fiber QC work — checking that a patch cord is good, verifying a single repair — a single-wavelength set is fine and saves money. Just know what you are giving up.
Choosing the Right LSPM Set for Your Work
Different fiber jobs need different LSPM specs. Here's how to think about it.
Building / data center cabling contractor
You install patch panels, MTP trunks, and zone enclosures. Most fibers are under 200 meters. You need:
- Dual-wavelength SM (1310/1550) — for any backbone fiber
- Dual-wavelength MM (850/1300) — for OM3/OM4/OM5 horizontal runs
- 0.25 dB accuracy or better
- LC and SC adapters
Our Optical Power Meter LC paired with a stabilized SM/MM source is a solid starting point. Add a fiber cleaning kit and a WiFi fiber microscope and you have a complete certification kit.
FTTH / outside plant tech
You work GPON, XGS-PON, and feeder fiber. You need:
- PON-aware power meter — measures 1490 and 1577 nm downstream + 1310 / 1270 nm upstream simultaneously
- 1310/1550 nm capability for dark fiber Tier 1 tests
- Battery life 8+ hours
- Rugged housing for OSP work
The XGS-GPON Power Meter is purpose-built for this workflow. Pair with a stabilized 1310/1550 source for dark-fiber Tier 1 work and you're covered for both passive testing and live PON activation.
Splice / repair tech
You don't certify whole networks; you fix individual fibers and verify the repair. You need:
- Single or dual wavelength meter — your call based on budget
- Compact source you can run from a battery
- VFL for visual fault location — see our 5km VFL pen
- OTDR for trace verification — the Fiber Ranger OTDR is a popular choice
Network engineer / spec writer
You write the test plans others execute. You need to know:
- Which TIA reference method (1, 2, or 3 cord) the spec calls for
- Which wavelengths are required (SM: 1310 + 1550, MM: 850 + 1300)
- What loss budget the link must meet
- How results will be documented and submitted
Standardize on one LSPM model across your contractors so the test reports are comparable.
Quality Test Reference Cords Matter More Than You Think
The single biggest source of measurement error in LSPM testing is dirty or damaged TRCs. Cheap jumpers with poorly polished ferrules add 0.3-0.5 dB of variability — enough to fail a link that's actually fine, or pass a link that's actually broken.
A real test reference cord:
- Has insertion loss under 0.2 dB per connector
- Uses ceramic ferrules with mirror-quality polish
- Is replaced every 500-1,000 mating cycles
- Lives in its own protective sleeve when not in use
- Gets inspected with a microscope before every reference set
Use our SM patch cord LC/UPC duplex as a starting point for SM TRC stock, and the LC/APC duplex jumper for any APC test work. Always inspect with a WiFi microscope before mating, and clean with a CLEP-25 (LC) or CLEP-125 (SC/FC) one-click cleaner.
LSPM Workflow: A Real-World Tier 1 Test
Here's how a typical certification test runs from start to finish on a 12-fiber backbone.
Setup (10 min)
Power on source and meter. Select wavelength (e.g., 1310 nm). Inspect both TRC connectors with a microscope. Clean each ferrule with a one-click cleaner. Select 1-cord reference method. Connect TRC + bulkhead adapter between source and meter. Wait 60 seconds for stabilization. Press "set ref."
Test fibers (20 min for 12 fibers)
Disconnect at the bulkhead. Connect TRC #1 + bulkhead adapter to fiber #1 at near end. Connect TRC #2 from far end of fiber #1 to meter. Read dB loss. Document. Move to fiber #2. Repeat.
Switch wavelength (5 min)
Change source to 1550 nm. If using a dual-wavelength meter, change meter wavelength too. Re-reference at 1550 (TIA-526 requires re-referencing for each wavelength). Re-test all 12 fibers.
Document and submit (10 min)
Export results from meter to laptop or print directly. Include: link length, fiber type, connector type, TIA reference method, wavelength, measured loss, calculated link budget, pass/fail. Hand to project manager.
Total time for 12 fibers at two wavelengths: ~45 minutes with practice. The first time you do it you'll spend twice as long. By the third job it's muscle memory.
Common LSPM Mistakes
Five patterns we see over and over in failed certification jobs.
Skipping the inspection step
Every connector you mate during a test must be inspected first. Dust on a ferrule will show up as 0.5+ dB of "loss" that has nothing to do with the installed cable.
Re-using TRCs past their service life
TRCs degrade with mating cycles. After 500-1,000 inserts, the ferrule polish breaks down and insertion loss creeps up. Replace TRCs annually for high-volume contractors.
Forgetting to re-reference between wavelengths
The reference is wavelength-specific. If you reference at 1310 and then test at 1550, your numbers are wrong — sometimes wrong enough to pass a bad link.
Mixing reference methods within a job
If you reference 1-cord on fibers 1-6 and 2-cord on fibers 7-12, the loss numbers are not comparable. Pick one method and document it.
Not stabilizing before reference
Lasers warm up. Output power drifts for the first 30-60 seconds after power-on. Reference too soon and your reference is wrong. Wait the full minute.
FAQ
What is a Light Source and Power Meter (LSPM) set?
An LSPM set is a paired test instrument used for Tier 1 fiber optic certification. The light source launches a known optical power into one end of the fiber under test, and the power meter measures what arrives at the far end. The difference is the insertion loss of the link in dB.
Do I need a separate LSPM, or can I use my OTDR for everything?
An OTDR provides Tier 2 testing — it traces the fiber and identifies events. An LSPM provides Tier 1 testing — actual insertion loss in dB end to end. Most certification standards (TIA-568, BICSI) require Tier 1 results. OTDRs are complementary, not a replacement.
What's the difference between a stabilized and unstabilized light source?
A stabilized source uses temperature compensation and feedback loops to hold output power within +/- 0.05 dB during a test. An unstabilized source can drift several tenths of a dB over an hour, which destroys measurement accuracy. For TIA-526-7/14 testing, you need a stabilized source.
Should I buy single-wavelength or dual-wavelength LSPM?
Dual-wavelength is the industry default. Single-mode certification requires testing at both 1310 and 1550 nm; multimode requires 850 and 1300 nm. A dual-wavelength set lets you complete both tests with one connection — twice as fast.
How accurate does an LSPM need to be for certification?
For TIA-568 and ISO/IEC 11801 Class OF-300 to OF-2000 certification, the meter needs +/- 0.25 dB accuracy or better, and the source needs +/- 0.1 dB stability. Most quality LSPMs from QBL meet or exceed these specs.
Build Your LSPM Kit
ShopFiberOptic stocks calibrated power meters, stabilized light sources, and high-quality test reference cords from QBL Innovations. Build a complete Tier 1 certification kit in one order.