Why Arc Calibration Matters
What Arc Calibration Actually Does
The fusion arc is an electric discharge between two electrodes with the fiber ends sitting in the gap. The arc current and duration determine how much heat reaches the fiber, which determines how the glass softens and fuses. Get the heat wrong and you get either a fat splice (too much heat — the fiber bulges and the core deforms) or a thin splice (too little heat — incomplete fusion that fails over time).
Several environmental and equipment factors affect arc behavior. Atmospheric pressure changes the arc shape and intensity. Temperature affects the glass softening point. Humidity changes the air's electrical properties. Electrode wear changes the discharge characteristics. The combination means yesterday's arc parameters may not produce today's correct heat.
Arc calibration runs a sequence of test fusions on real fiber, measures the result (typically by analyzing where the fiber ends sit after the arc), and adjusts internal parameters — primarily arc current and gap distance — to compensate for current conditions. The output is a splicer that produces the correct fiber softening regardless of where you set up.
When to Run an Arc Calibration
- Start of every workday. Conditions change overnight. A 30-second calibration sets you up for a day of consistent splices.
- After replacing electrodes. New electrodes have different discharge characteristics from worn ones. Always calibrate after electrode service. See our electrode replacement guide for full procedure.
- After cleaning V-grooves or electrodes. Cleaning changes how fiber sits in the V-groove and how the arc strikes. Recalibrate.
- Significant altitude change. Driving from a coastal job to a mountain job (1,000+ feet difference) warrants a recalibration on arrival.
- Significant temperature change. Working from a 70F vehicle into a 30F manhole is a 40F swing — recalibrate when you set up at the new location.
- After a long storage period. A splicer that has sat unused for weeks should be calibrated before any production splicing.
- When splice loss starts trending up. If you notice splices creeping from 0.03 dB to 0.07-0.10 dB without obvious cause, run a calibration. If that does not fix it, look at electrodes and cleaver next.
- When the splicer prompts you. Some splicers track arc count and conditions and prompt for calibration automatically. Always honor the prompt.
The Arc Calibration Procedure
Specific menu paths vary by splicer, but the procedure is essentially identical across modern core-alignment splicers.
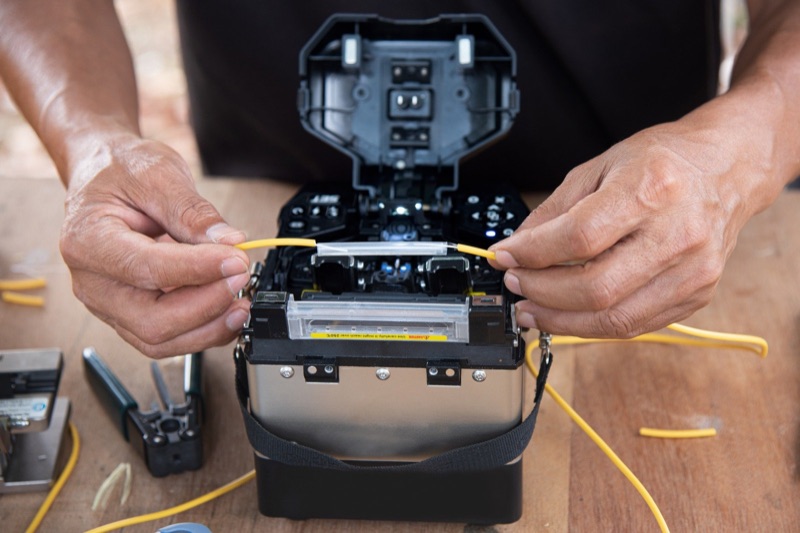
Step 1: Prep Two Fiber Ends
Use the same fiber type you will be splicing in production (single-mode 9/125 for SM work, multimode 50/125 or 62.5/125 for MM work). Strip 30-40mm of buffer, clean with isopropyl alcohol and a lint-free wipe, and cleave both ends with a precision mechanical cleaver. Cleave quality directly affects calibration accuracy.
Step 2: Open the Calibration Menu
Navigate to the maintenance or calibration menu (varies by splicer — typically Menu > Maintenance > Arc Calibration or similar). Select "Arc Calibration" or "Test Arc Calibration." Some splicers offer separate "Stabilize Electrode" and "Arc Calibration" routines — run the stabilize routine first, then calibration.
Step 3: Load the Fibers
Place each prepared fiber end into a V-groove with the cleaved end-face just past the electrode position, exactly as you would for a normal splice. Close the wind protector / hood.
Step 4: Run the Calibration
Press start. The splicer will fire one or more test arcs, measure how the fiber ends respond, and either adjust parameters and report success or fire additional iterations until convergence. The whole process takes 20-60 seconds depending on splicer and number of iterations needed.
Step 5: Verify the Result
The splicer reports calibration as "Good" / "OK" / "Pass" or "Failed" / "Try Again." On success, you are done — proceed to production splicing. On failure, see the troubleshooting section below.
Calibration vs Test Arc vs Electrode Stabilization
| Routine | What It Does | When to Run | Time |
|---|---|---|---|
| Test Arc | Single arc with no fiber, burns off electrode contamination, verifies electrode condition | Daily, after long storage, after suspect splice | 5 sec |
| Electrode Stabilization | Series of arcs to break in new electrodes or restore consistent discharge after cleaning | After replacing electrodes, after V-groove or electrode cleaning | 30-60 sec |
| Arc Calibration | Test fusions on real fiber, measures result, adjusts arc current and parameters | Daily, after electrode service, after env change, when loss trends up | 30-60 sec |
Run all three routines after electrode replacement: test arc to verify, stabilize to break in, calibrate to tune.
Interpreting Calibration Results
Splicer-specific terminology varies but the underlying outcomes are the same.
Pass / Good / OK
Calibration converged within tolerance. The splicer adjusted its arc parameters to suit current conditions. Proceed to production splicing.
Adjusted +N / Adjusted -N
Some splicers report the magnitude of adjustment ("Arc Power adjusted +3" or "+15 steps"). Small adjustments (under +/-5) are normal. Large adjustments (+/-15 or more) indicate something has changed significantly — typically electrode wear or environmental shift. The splicer still calibrated successfully, but expect to recalibrate sooner than usual.
Failed / Try Again
Calibration did not converge. Common causes covered in the next section. Run through the troubleshooting checklist before re-running.
Replace Electrodes
Some splicers detect that no calibration adjustment will fix the problem and prompt directly for electrode replacement. Heed the warning — running splices with degraded electrodes produces inconsistent loss and risks damage.
Troubleshooting Calibration Failures
1. Bad Cleave
The most common failure cause. If the cleave is angled, chipped, or has hackle, the calibration cannot work. Re-cleave both ends with a sharp blade. If your cleaver has been in heavy use, rotate or replace the blade.
2. Dirty Fiber End-Face
A dust speck or oil residue on the cleaved end-face produces unpredictable arc results. Clean the stripped fiber with alcohol and a wipe, then cleave fresh. Never touch the bare cleaved end with fingers.
3. Dirty V-Grooves
Dust, fiber fragments, or coating residue in the V-grooves prevents the fiber from seating properly. The splicer may still align but the gap between fiber ends will be wrong. See our V-groove cleaning guide for the procedure.
4. Worn Electrodes
Electrodes wear with use. Once the tips deform or accumulate enough silicate buildup, the arc becomes unstable. If your splicer has more than 3,000 arcs since last electrode replacement, swap them.
5. Wrong Fiber Type Selected
If the splicer is set to splice multimode and you are calibrating with single-mode (or vice versa), the calibration will fail or produce wrong adjustments. Confirm fiber type setting matches the calibration fiber.
6. Extreme Environmental Conditions
Below freezing, in heavy humidity, or at very high altitude, calibration becomes harder. Move the splicer into a controlled environment (heated tent, splice van) and try again.
Tools You Need for Reliable Calibration
Fusion Splicer
Core-alignment splicer with built-in arc calibration routine. The QBL Fusion Splicer prompts for calibration automatically based on arc count and environmental change.
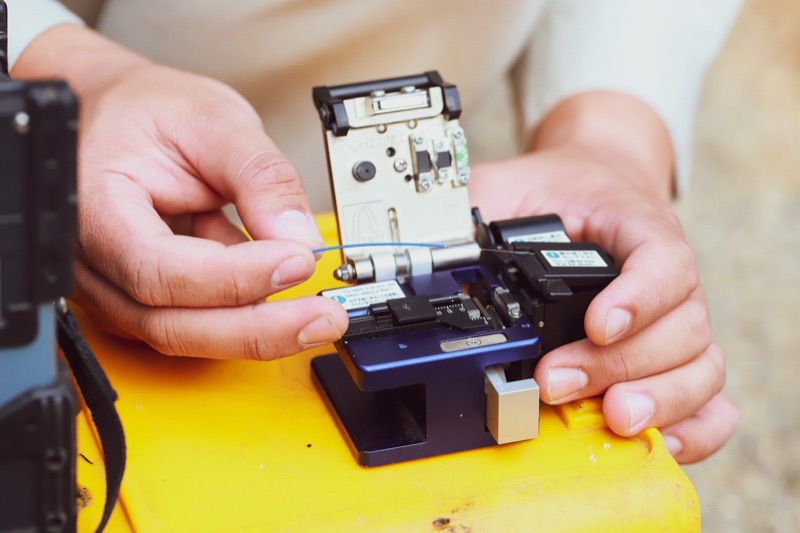
Mechanical Cleaver
Precision cleaver for the calibration fiber. A bad cleave will fail the calibration before the splicer can do anything useful. Keep the blade sharp.
Fiber Splicing Kit
Includes alcohol, lint-free wipes, fiber strippers, and the consumables you need to prep clean fiber for calibration runs.
Spare Battery
Calibration uses arc cycles. On a long field day with multiple recalibrations, a spare battery prevents you from running out mid-closure.
Best Practices
- Calibrate at the start of every workday, not when problems appear.
- Keep calibration fiber separate from production fiber so you always have a known-good piece.
- Always run electrode stabilization after V-groove cleaning or electrode replacement, then calibrate.
- Log calibration adjustments. Trends in adjustment magnitude reveal electrode wear before splice loss spikes.
- Recalibrate when you change locations significantly — different altitude, different temperature, different humidity.
- Never skip calibration to save time. The 30 seconds is cheap insurance against wasted closures.
- If calibration fails twice with fresh cleaves, suspect electrodes before suspecting the splicer.
Frequently Asked Questions
How often should I run an arc calibration?
Daily at minimum, plus after any electrode service, V-groove cleaning, significant environment change, or unexplained splice loss trend. Treat it as a 30-second routine, not a special procedure.
What is the difference between a test arc and arc calibration?
A test arc is a single discharge with no fiber present, used to clean electrodes and verify they fire. Arc calibration uses real fiber, measures the result, and adjusts parameters. Test arc verifies; calibration tunes.
Do I need to recalibrate after changing altitude?
Yes for changes of 1,000 feet or more. Atmospheric pressure changes arc behavior. Most splicers detect significant pressure change automatically and prompt you.
Why does my calibration keep failing?
Work through the checklist: bad cleave, dirty end-face, dirty V-grooves, worn electrodes, wrong fiber type, extreme environment. The first three account for the majority of failures.
Can I skip calibration if my splices look fine?
You can, but you are gambling. Splice loss creep is gradual; by the time you notice it on the splicer's loss estimator, you may have shipped problem splices into production. Daily calibration costs 30 seconds and prevents the problem.