The Quick Answer
Rule 1: Respect Bend Radius
Bend radius is the minimum curvature an optical fiber can tolerate without measurable optical loss or mechanical damage. Below the minimum bend radius, light leaks out of the core (causing macrobend loss) and the glass develops microcracks that propagate over time and eventually break the fiber.
The Numbers
- Standard single-mode (G.652): 30 mm minimum bend radius. About the diameter of a US quarter.
- Bend-insensitive single-mode (G.657.A1): 10 to 15 mm minimum. Common in modern data center patch cords.
- Tight-buffered bend-insensitive (G.657.A2/B3): 7.5 to 10 mm minimum. Used for very tight in-cabinet routing.
- Multimode (OM3/OM4/OM5): 30 mm minimum (standard); some bend-optimized variants down to 15 mm.
Where Bend Violations Happen
The most common bend radius violations occur at:
- Patch cord exits from cassette fronts where the cord doubles back into a vertical manager.
- Tight loops formed when excess slack is bundled with cable ties.
- Sharp transitions between horizontal cable management and vertical management.
- Fiber routing under heavy copper bundles that compress the fiber against a sharp edge.
Use 1U or 2U fiber routing brackets at every cassette front. These have engineered curves that maintain bend radius compliance even when patch cords are dressed densely.
Rule 2: Manage Slack Properly
Patch cord slack is unavoidable -- you cannot order a perfect-length cord for every connection, and standard inventory means using 1 m, 2 m, or 3 m cords for the actual distances of 0.7 m, 1.5 m, or 2.4 m. Where the slack lives determines whether the cabinet stays serviceable.
Good Practices
- Route slack along horizontal management bars between U-positions.
- Use vertical cable management between cabinets or on side rails for cabinet-to-cabinet runs.
- Maintain bend radius even in the slack management areas.
- Use Velcro straps (not zip ties) so the slack can be re-dressed without cutting cords.
Bad Practices
- Coiling excess in the back of the cabinet creates a tangle that stresses every fiber in the coil.
- Tight cable ties pinch fibers and cause localized macrobend loss.
- Looping slack tightly around a cassette door or hinge -- routine door movement abrades the fiber.
Order the Right Lengths
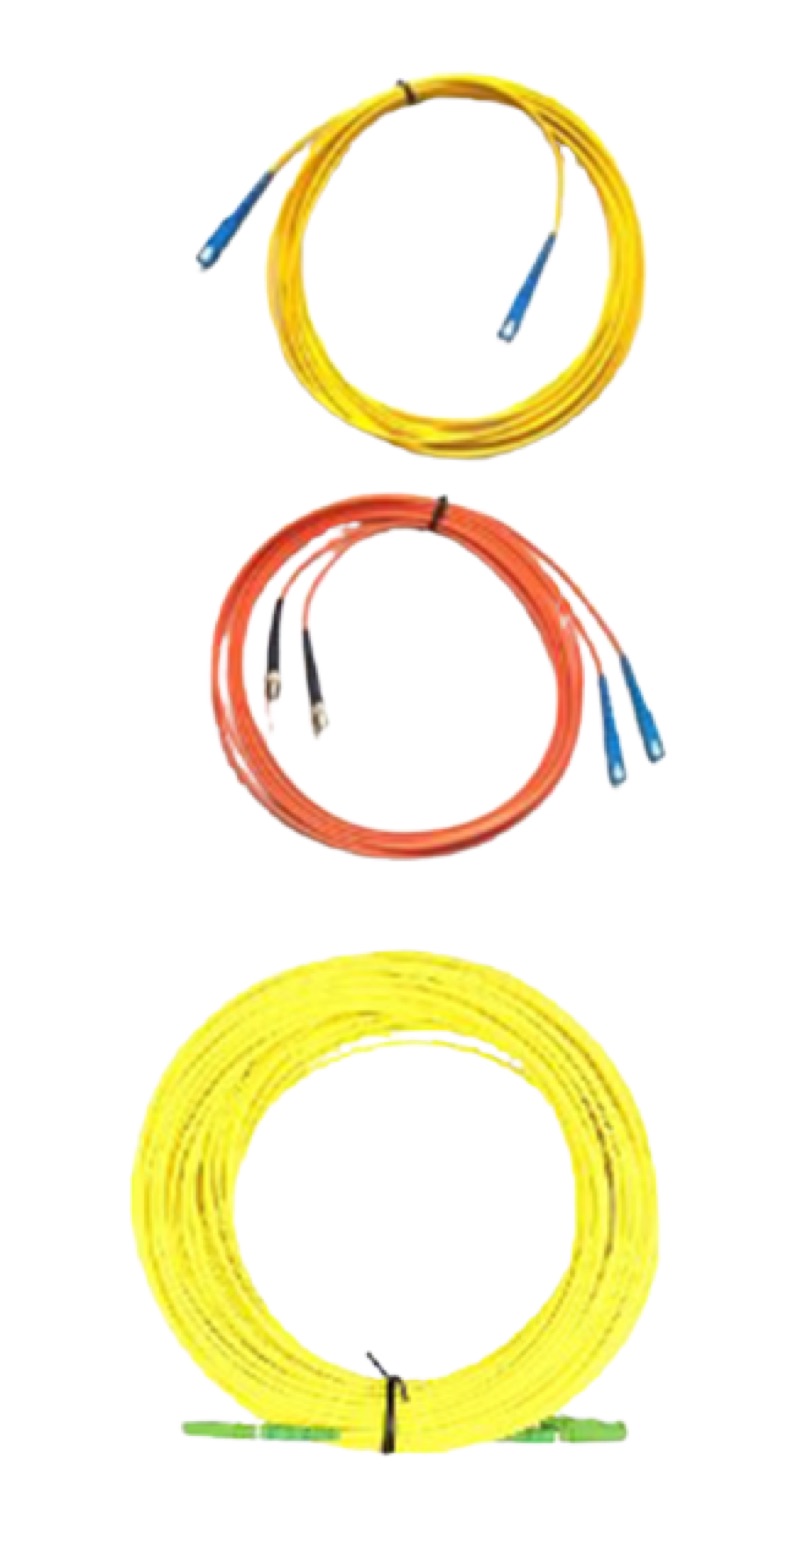
The best slack management is to order the right length cord. For repeated patterns (cabinet-to-cabinet, panel-to-equipment), measure the actual route and order cords sized for that route. Stocking 0.5 m, 1 m, 2 m, and 3 m in standard colors covers most cases. Use the SM LC/UPC Duplex Patch Cord for single-mode connections and the MM OM4 Simplex Jumper for multimode in pairs.
Rule 3: Label Everything, Both Ends, Permanently
Label Content
Every patch cord label should contain:
- Source location: cabinet number, panel position, port number.
- Destination location: cabinet number, panel position, port number.
- Optional: circuit identifier, application, install date.
Label Format
Use thermal-printed labels with a durable plastic substrate (not paper). Wrap-around labels stay attached to fiber jackets better than flag labels. Avoid adhesive labels with weak glue -- they fall off within a year and you are left with unlabeled cabling.
Label Both Ends
A patch cord with only one end labeled is half-labeled. When a tech is troubleshooting at the destination, they need to see the source identification on that end of the cord. Always label both ends with the same source/destination information.
Maintain the Cabinet Documentation
Patch cord labels are operational; the cabinet documentation is strategic. Maintain a cabinet diagram (paper or CMDB) that shows every panel, every port, every circuit. When you trace a fiber from a switch port back to the source server, the label gets you to the cabinet and the documentation gets you the rest of the way.
Rule 4: Separate Fiber from Copper
Fiber is immune to electromagnetic interference, but it is highly sensitive to mechanical damage. Heavy copper bundles get pulled, re-routed, and tugged during copper work. A single careless pull through a shared pathway can pinch a fiber bundle hard enough to break individual strands or cause permanent macrobend loss.
Inside the Cabinet
Use dedicated fiber routing brackets and lacing bars. Keep fiber on one side of the cabinet (typically the side opposite the power feeds) and copper on the other. Cross-overs are unavoidable but should be minimized.
Between Cabinets
Use dedicated overhead fiber raceway or basket tray for fiber. Copper goes in separate trays. When a tech is pulling new copper, they should never have to disturb fiber. The pathways should be physically separate, not just labeled differently.
Bend Radius in Pathways
Pathway transitions (tray-to-tray, raceway-to-cabinet) must respect bend radius. Many older cable trays have sharp 90-degree transitions that violate bend radius for any unprotected fiber. Use radius drops, fiber transition brackets, or simply choose pathway components designed for fiber to avoid this issue.
Rule 5: Clean Every Connector Every Time
Endface contamination is the number one cause of fiber link failures. A single particle of dust on a UPC endface adds 0.5 to 1.0 dB of loss easily, which is enough to fail a 100GBASE-SR4 channel that would otherwise pass. Every disconnection exposes the endface to airborne particles. Every reconnection without cleaning re-traps any new contamination against the mating endface, often damaging both connectors.
Cleaning Tools
- LC patch cords: Opti Fiber Cleaner -- cassette-style cleaner with replaceable cleaning ribbon.
- LC bulkhead ports: Long-form cleaner like the Fiber Lock Long Cleaner for hard-to-reach ports.
- MPO endfaces: MPO Push-Type Cleaner for standard MPO; MPO R-Type Cleaner for ribbon-style MPO.
- CS connectors: CS Connector End Face Cleaner.
Inspection
After cleaning, inspect the endface to confirm the contamination is gone. Use a microscope like the WiFi Fiber Microscope with appropriate inspection tips. The cleaning-inspecting cycle takes 30 seconds per connector and saves hours of downstream troubleshooting.
Quick Reference Table
| Practice | Standard | Tool/Method |
|---|---|---|
| Bend radius (standard SM) | 30 mm minimum | Fiber routing brackets, radius drops |
| Bend radius (bend-insensitive) | 7.5-15 mm minimum | Same brackets; relax constraints in tight spaces |
| Patch cord slack | Routed on horiz/vert managers | Velcro straps, no zip ties |
| Labeling | Both ends, durable thermal print | Wrap-around plastic labels |
| Pathway separation | Dedicated fiber raceway/tray | Different side of cabinet from copper |
| Cleaning frequency | Every connector, every mating | Cassette cleaner + microscope |
| Documentation | CMDB or cabinet diagram | Updated at every move/add/change |
Tools for Fiber Rack Management
LC Cleaning
Cassette-style cleaner for LC patch cord ends. Replaceable cleaning ribbon, 500+ cleanings per cassette.
Use: Opti Fiber Cleaner
MPO Cleaning
Push-type cleaner for MPO connectors. One-press cleaning of all 12 fibers.
Endface Inspection
WiFi-enabled microscope with tablet display for fast inspection in the cabinet.
Standard Patch Cord Stock
Single-mode LC duplex jumpers for standard equipment patching.
The Bottom Line
Fiber rack management is a discipline, not a project. The five rules -- bend radius, slack management, labeling, pathway separation, cleaning -- are simple. The challenge is enforcing them consistently across every patch cord, every cabinet, every move-and-add, every shift, every contractor. Cabinets where the discipline is enforced stay serviceable for the life of the cable plant. Cabinets where it slips become unmaintainable in five years.
Build cleaning and inspection into the standard moves-and-adds workflow. Stock the right patch cord lengths. Maintain the cabinet documentation as a living artifact. Pay for thermal labels and durable management hardware. The investment pays back the first time you avoid a 3 AM outage caused by a stressed fiber.
For more on testing fiber after rack changes, see how to test a 100G fiber link. For the broader cabling architecture context, see structured fiber cabling for data centers. For endface inspection criteria, see fiber end face zones explained.