What an OTDR Does
An Optical Time Domain Reflectometer sends short pulses of light into one end of a fiber and measures the light that comes back. Some light is reflected at discrete points (connectors, mechanical splices, breaks) and some is scattered continuously along the fiber (Rayleigh backscatter). By measuring the intensity and timing of the returned light, the OTDR constructs a trace -- a graph of signal level versus distance -- that maps every event along the entire fiber link.
The key advantage over other test methods is that the OTDR works from one end. You do not need a technician at the far end with a light source. One person, one connection, one test gives you a complete characterization of the link including the location and loss of every event.
How to Read an OTDR Trace
The OTDR trace is a graph with distance on the horizontal axis (meters or feet) and signal level on the vertical axis (dB). The trace slopes downward from left to right because the fiber attenuates the signal as distance increases. Events appear as deviations from this smooth downward slope.
The Backscatter Slope
The smooth, gradually declining line is the fiber itself. The slope of this line is the fiber's attenuation coefficient, measured in dB per kilometer. For standard single-mode fiber at 1310nm, typical attenuation is 0.35 dB/km. At 1550nm, it drops to about 0.22 dB/km. If the slope is steeper than expected, the fiber may be damaged, stressed, or a different type than specified.
Reflective Events
A sharp upward spike on the trace indicates a reflective event -- a point where light is reflected back toward the OTDR. Connectors are the most common reflective events because the air gap or physical contact interface between two ferrules creates a refractive index change. Mechanical splices also produce reflections. The height of the spike indicates the amount of reflection (reflectance), and the drop in the backscatter level after the spike indicates the loss at that event.
Non-Reflective Events
A step down in the backscatter level without a reflection spike indicates a non-reflective event. Fusion splices are the most common non-reflective events because the fused glass-to-glass joint has no air gap to cause reflection. The size of the step indicates the splice loss. Good fusion splices show steps of 0.02-0.05 dB. Steps larger than 0.1 dB indicate a problem with the splice.
Gainers (Apparent Negative Loss)
Occasionally, a fusion splice appears to show a gain (the backscatter level goes up instead of down). This is not actually a gain -- it is an artifact caused by different fiber characteristics on each side of the splice. When the fiber after the splice has a slightly higher backscatter coefficient than the fiber before it, the OTDR sees more returned light and interprets it as a gain. Bidirectional testing (testing from both ends and averaging) eliminates this artifact and gives the true splice loss.
The End of the Fiber
The trace ends with a large reflection spike (if the far end has a connector) or a sharp drop to the noise floor (if the far end is a clean cleave or break). The distance to this final event is the fiber length. Beyond this point, the trace shows only noise.
Event Detection: What Each Event Means
- Connector: Reflective event with loss. Typical loss: 0.3-0.5 dB per mated pair. Typical reflectance: -35 to -55 dB. High loss or high reflectance indicates contamination, damage, or misalignment. Clean and inspect before retesting.
- Fusion splice: Non-reflective event with small loss. Typical loss: 0.02-0.05 dB. If loss exceeds 0.1 dB, the splice should be re-done. No reflection spike should be visible -- if one appears, the splice has a gap or crack.
- Mechanical splice: Reflective event with moderate loss. Typical loss: 0.1-0.5 dB. Mechanical splices use index-matching gel and physical alignment rather than fusion. They are faster to install but produce higher loss and reflectance than fusion splices.
- Macrobend: Non-reflective loss event with no physical splice or connector at that location. Caused by the fiber being bent below its minimum bend radius. Common at cable routing points, enclosures, and slack storage coils. Often wavelength-dependent -- visible at 1550nm but not at 1310nm because longer wavelengths are more sensitive to bending.
- Break: Large reflection spike followed by a drop to the noise floor. The fiber is physically severed at this point. The OTDR gives you the distance to the break for locating the fault in the field.
Free: OTDR Field Testing Checklist
A one-page printable checklist for the truck: pre-test cleaning and inspection steps, launch/receive fiber setup, wavelength and pulse-width selection by link length, pass/fail thresholds for connectors and splices, and the trace-review steps before you leave the site. Sized to laminate and keep in your OTDR case. Drop your email and we'll send it over.
No spam. We'll send the resource and the occasional fiber testing tip. Unsubscribe anytime.
Setting Up an OTDR Test
Wavelength
Test at the wavelength(s) your network operates at. For single-mode fiber, the standard wavelengths are 1310nm and 1550nm. Testing at both wavelengths reveals macrobends (which show up at 1550nm but may be invisible at 1310nm) and verifies the fiber meets attenuation specifications at both operating windows.
Pulse Width
Shorter pulses give better distance resolution (ability to distinguish closely spaced events) but less dynamic range (distance the OTDR can measure). Longer pulses give more dynamic range but blur closely spaced events together. For FTTH and short-distance work (under 10 km), use a short pulse width (5-20 ns). For long-haul backbone testing, use a longer pulse width (100-1000 ns) to reach the far end.
Distance Range
Set the OTDR's distance range to approximately 1.5 to 2 times the expected fiber length. Setting the range too short cuts off the trace before the far end. Setting it too long wastes acquisition time and compresses the trace, making events harder to see.
Averaging Time
The OTDR averages multiple acquisitions to reduce noise. Longer averaging times produce cleaner traces with better event detection, especially at long distances or with short pulse widths. For routine testing, 20-30 seconds of averaging is typically sufficient. For documentation-grade traces, use 60-180 seconds.
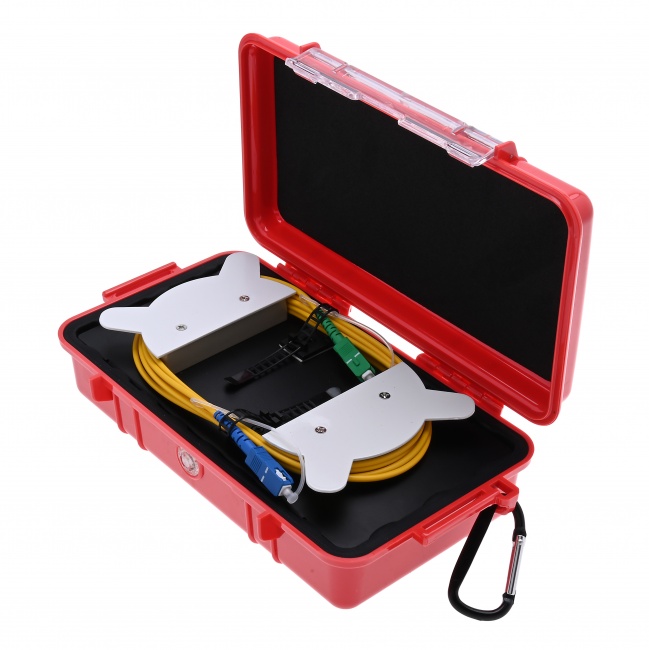
Launch Fiber
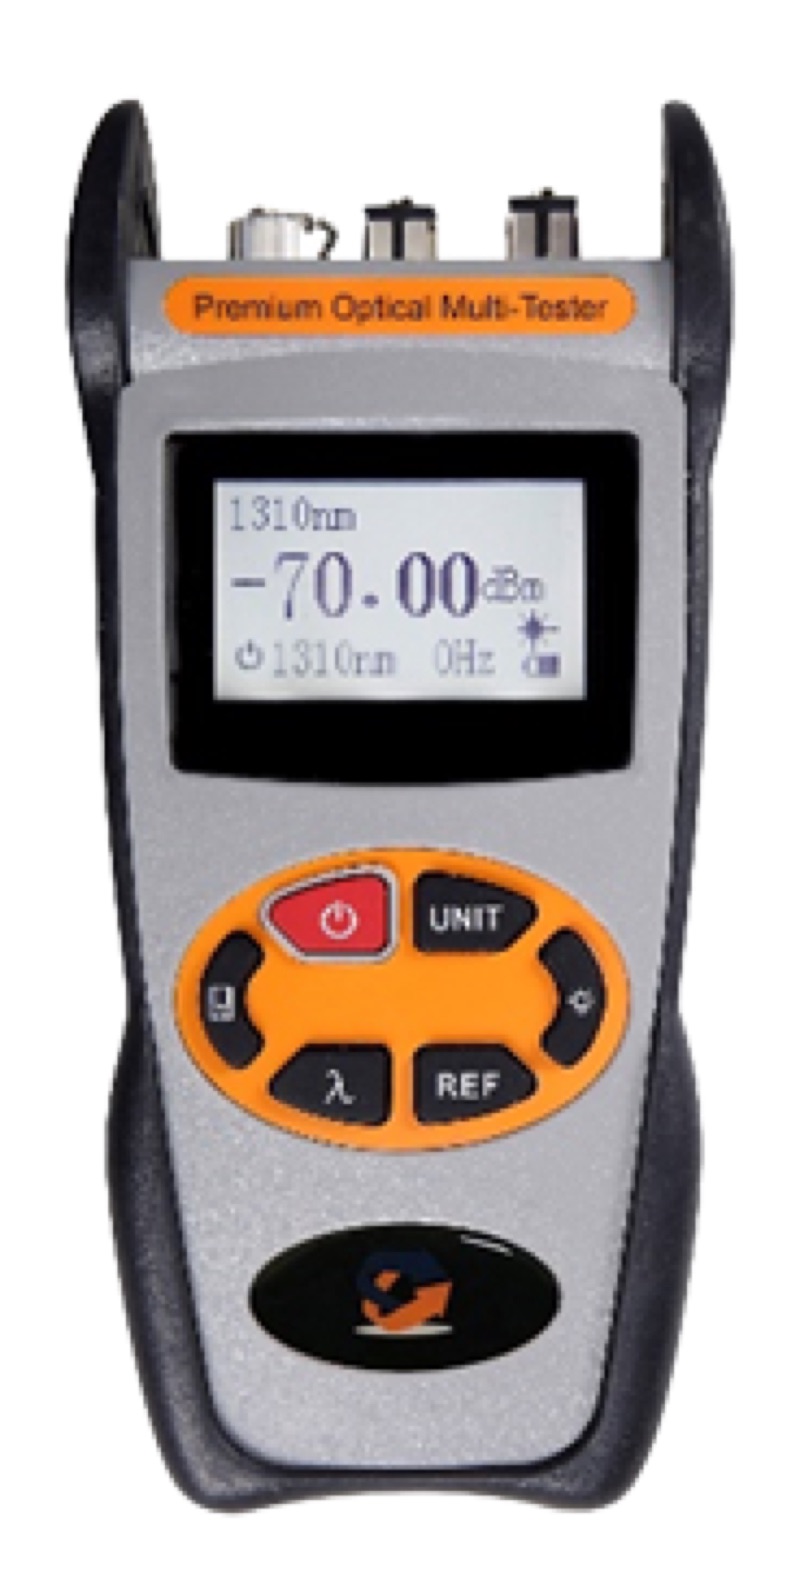
OTDR vs Light Source and Power Meter
Both methods test fiber links. They answer different questions.
Light Source and Power Meter
Measures the total end-to-end loss of a fiber link. One person connects a calibrated light source at one end, another person reads the power meter at the other end. The difference is the total link loss. This is the standard method for loss certification because it measures the actual end-to-end optical performance the network equipment will see.
Limitations: it tells you the total loss but not where the loss is occurring. If a link fails, you know it is over budget, but you do not know which splice, connector, or section of fiber is responsible. It also requires two people (one at each end) and two test sessions for two wavelengths.
OTDR
Maps every event along the fiber with location and loss information. One person, one end, one test. Essential for troubleshooting because it pinpoints fault locations. Essential for acceptance testing of new construction because it documents every splice and connector individually.
Limitations: OTDR loss measurements are less accurate than power meter measurements for total end-to-end loss because of dead zone effects and the gainer artifact discussed above. The OTDR also cannot measure the loss of the first and last connectors without launch and receive fibers.
When to Use Each
- New construction acceptance: Both. OTDR for individual event documentation, power meter for end-to-end loss certification.
- Troubleshooting a failed link: OTDR. You need to find where the problem is, not just confirm that the link fails.
- Routine FTTH drop verification: Power meter is typically sufficient. The link is short, has few events, and end-to-end loss is the primary acceptance criterion.
- Documenting a fiber plant for records: OTDR. The trace provides a permanent record of every event location and loss value for future reference.
Common OTDR Testing Mistakes
- Skipping the launch fiber. Without a launch fiber, you cannot measure the first connector. You are flying blind on the connection that is most likely to have problems.
- Wrong pulse width. Too long and you cannot resolve closely spaced events (like two connectors 5 meters apart in a patch panel). Too short and you cannot reach the far end. Match the pulse width to the link length.
- Testing only one wavelength. A link that passes at 1310nm can fail at 1550nm due to macrobends. Test both wavelengths.
- Testing only one direction. Unidirectional OTDR testing can show gainers at splices that mask real loss. For accurate splice loss values, test from both ends and average the results (bidirectional testing).
- Dirty OTDR port or launch fiber connectors. The OTDR port connector and launch fiber connectors must be clean. Contamination here shows up as a high-loss event at the beginning of every trace, and the resulting high reflectance can mask events in the dead zone. Clean every connector, including the OTDR's own port.
Related Reading
Ready to test fiber with confidence?
Tell us what you test — FTTH drops, campus backbone, long-haul, or data center — and a fiber specialist will match you with the right OTDR, launch fibers, and settings for your links so your first trace is a clean one. No upsell, just the right gear for your job.
“They walked me through pulse width and launch cable choice for our 40 km runs — first acceptance test passed clean.” — outside plant tech, regional carrier
Browse Fiber Test Equipment
OTDRs, power meters, light sources, visual fault locators, and inspection microscopes for fiber link characterization and troubleshooting.